“Heroku is a platform as a service (PaaS) that enables developers to build, run, and operate applications entirely in the cloud.” (Heroku)
Setting it up is quite easy, first you need to sign up for a free account:
Once you have a free account, you will need to download the Heroku Command Line Interface (CLI) here.
The installation will take about 1 minute or so.
Once that’s complete, open your favourite terminal and navigate to the project you want to push to Heroku. Once there, type the following command:
heroku login
You will see a output like bellow:
> heroku login
Enter your Heroku credentials.
Email: < type your email here>
Password: < type your password here >
Logged in as [email protected]
We now need to tell Heroku to create a new application name so that we can push our code.
Type the following command:
heroku create
heroku create
Creating app... done, ⬢ dry-temple-48009
https://dry-temple-48009.herokuapp.com/ | https://git.heroku.com/dry-temple-48009.git
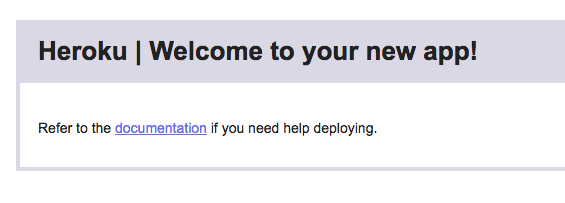
A new Heroku app is created (mine is https://dry-temple-48009.herokuapp.com/). Because we haven’t pushed any code to it, if we navigate to our project URL, you should see something like this
We are almost there. Once you’re satisfied if your code, you can push your code to Heroku by doing a
git push heroku master
This will push you code to a branch named heroku but your project might not be running. This is because we need to tell Heroku to run it.
Type the following command:
heroku ps:scale web=1
If everything is right with your code, you should now have the project running on the Heroku url (mine is https://dry-temple-48009.herokuapp.com/).


